


How-To Install Our 20' Defender Flag Pole with Basic Tools
Get the flag pole you have always wanted without all the fuss.
Our extensive experience in the commercial flag pole industry allowed us to custom package this heavy-duty home flag pole kit with all the best parts from across the entire industry. The 20' Defender Flag Pole is a flag display that lasts forever, is 100% American made, looks outstanding, and is easy to install.
3 Easy Steps to the Flag Pole of Your Dreams
Before you get started:
- Safety check #1: Always call before you dig. Take my word for it, you do not want to hit any underground utilities. 811 is a free service that marks all public utilities going from the road to your home or business. Note: 811 does not mark private utilities, so be cognizant of that!
- Safety check #2: Look for overhead obstructions. I personally know a few people electrocuted from power lines while installing a flag pole. 100% preventable!
Step 1. Install the Ground Sleeve
Your first package from us includes a parts box and a ground sleeve. The 20' Defender Flag Pole has a 3" I.D. (inside diameter) PVC ground sleeve that is 24" in length.
Tools Required: Post-hole digger, Wheelbarrow, Garden hoe, Trowel, 2 ft. Level, 6-7 60# bags of dry concrete mix, 2-3 Buckets of water or a hose. (I have done more with less. Not all of this is "required" - think: something to dig, something to mix cement. Use a shovel instead. Skip the hoe and mix cement with a trowel. You don't have to look like a professional to get professional results.)
Dig the hole roughly 16" in diameter and 24" deep. If you have sandy and/or loose soil conditions, feel free to expand that diameter to 18-20" (you may need more cement bags). You may also consider adding rebar if you have sub-optimal soil. [Add rebar video link here] Pro Tip: If soil is very hard and digging is difficult, we really like using this Steel Handle Post Hole Digging Bar. The weight and chisel point create effective breakage to loosen hard soil.
Once your hole is complete, check the alignment of your ground sleeve. There are a few things to consider at this point in the process.
- You will want the top of your ground sleeve to protrude about 1/4" - 1/2" above your finished "grade" or elevation (fancy construction speak for whatever you want the "ground" to be when you're done: exposed cement, grass, mulch, landscape rock, etc.). Reason: Ground sleeve protrusion helps prevent water from getting into the ground sleeve. Don't worry about how the protrusion looks, it will get covered up by the collar later.
- Checking plumb (the vertical version of "level") is a constant process. So, now, you will check plumb on all axis (think North, East, South, West), different points around the inside of the ground sleeve. Note: You want your ground sleeve to be plumb while also being in the center of the hole. Especially in the center of the hole at the surface if you are leaving the concrete exposed, as that is what will be visible.
Now, it is time to mix cement. This is your chance to be a kid again. Get messy, have fun. Don't breathe in the dust. Pro Tip: Hold the ground sleeve in place while pouring the cement in the hole. The force of the cement can move the bottom of the ground sleeve off-center, which would make it off-center at the top when you plumb it and it wouldn't look quite as good. If you are covering up the cement with mulch, sod, or rock then you don't have to worry about this too much. Note: Check plumb every 1-2 bags of cement. It's MUCH easier to make small adjustments as you go then it is to make a big correction later.
Read manufacturer's instructions on the cement bag to determine cure time. Usually 24-48 hours is adequate for this size project. Covering the ground sleeve is a good idea. Especially if you have kids around. They like to find out how many irretrievable objects can fit down tight spaces.
2. Assemble Your Flag Pole
Tools Required: Allen keys, 1" crescent wrench
- Use an Allen key set to thread the bolts through the cleat and into the pre-drilled holes on the flag pole about 6' from the bottom of the pole.
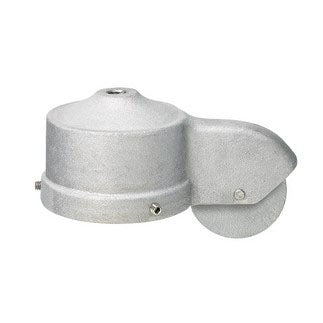
- Use an Allen key set to tighten the cap-style pulley truck on to the top of the flag pole. Pro Tip: It's easier to get the rope through the pulley if you thread it through before securing the cap-style truck.
- Hand tighten the Aluminum Gold Ball Ornament into the top of the cap-style truck. Finish tightening the ball with the crescent wrench. Verify the entire truck/ball assembly is aligned properly and adjust if necessary.
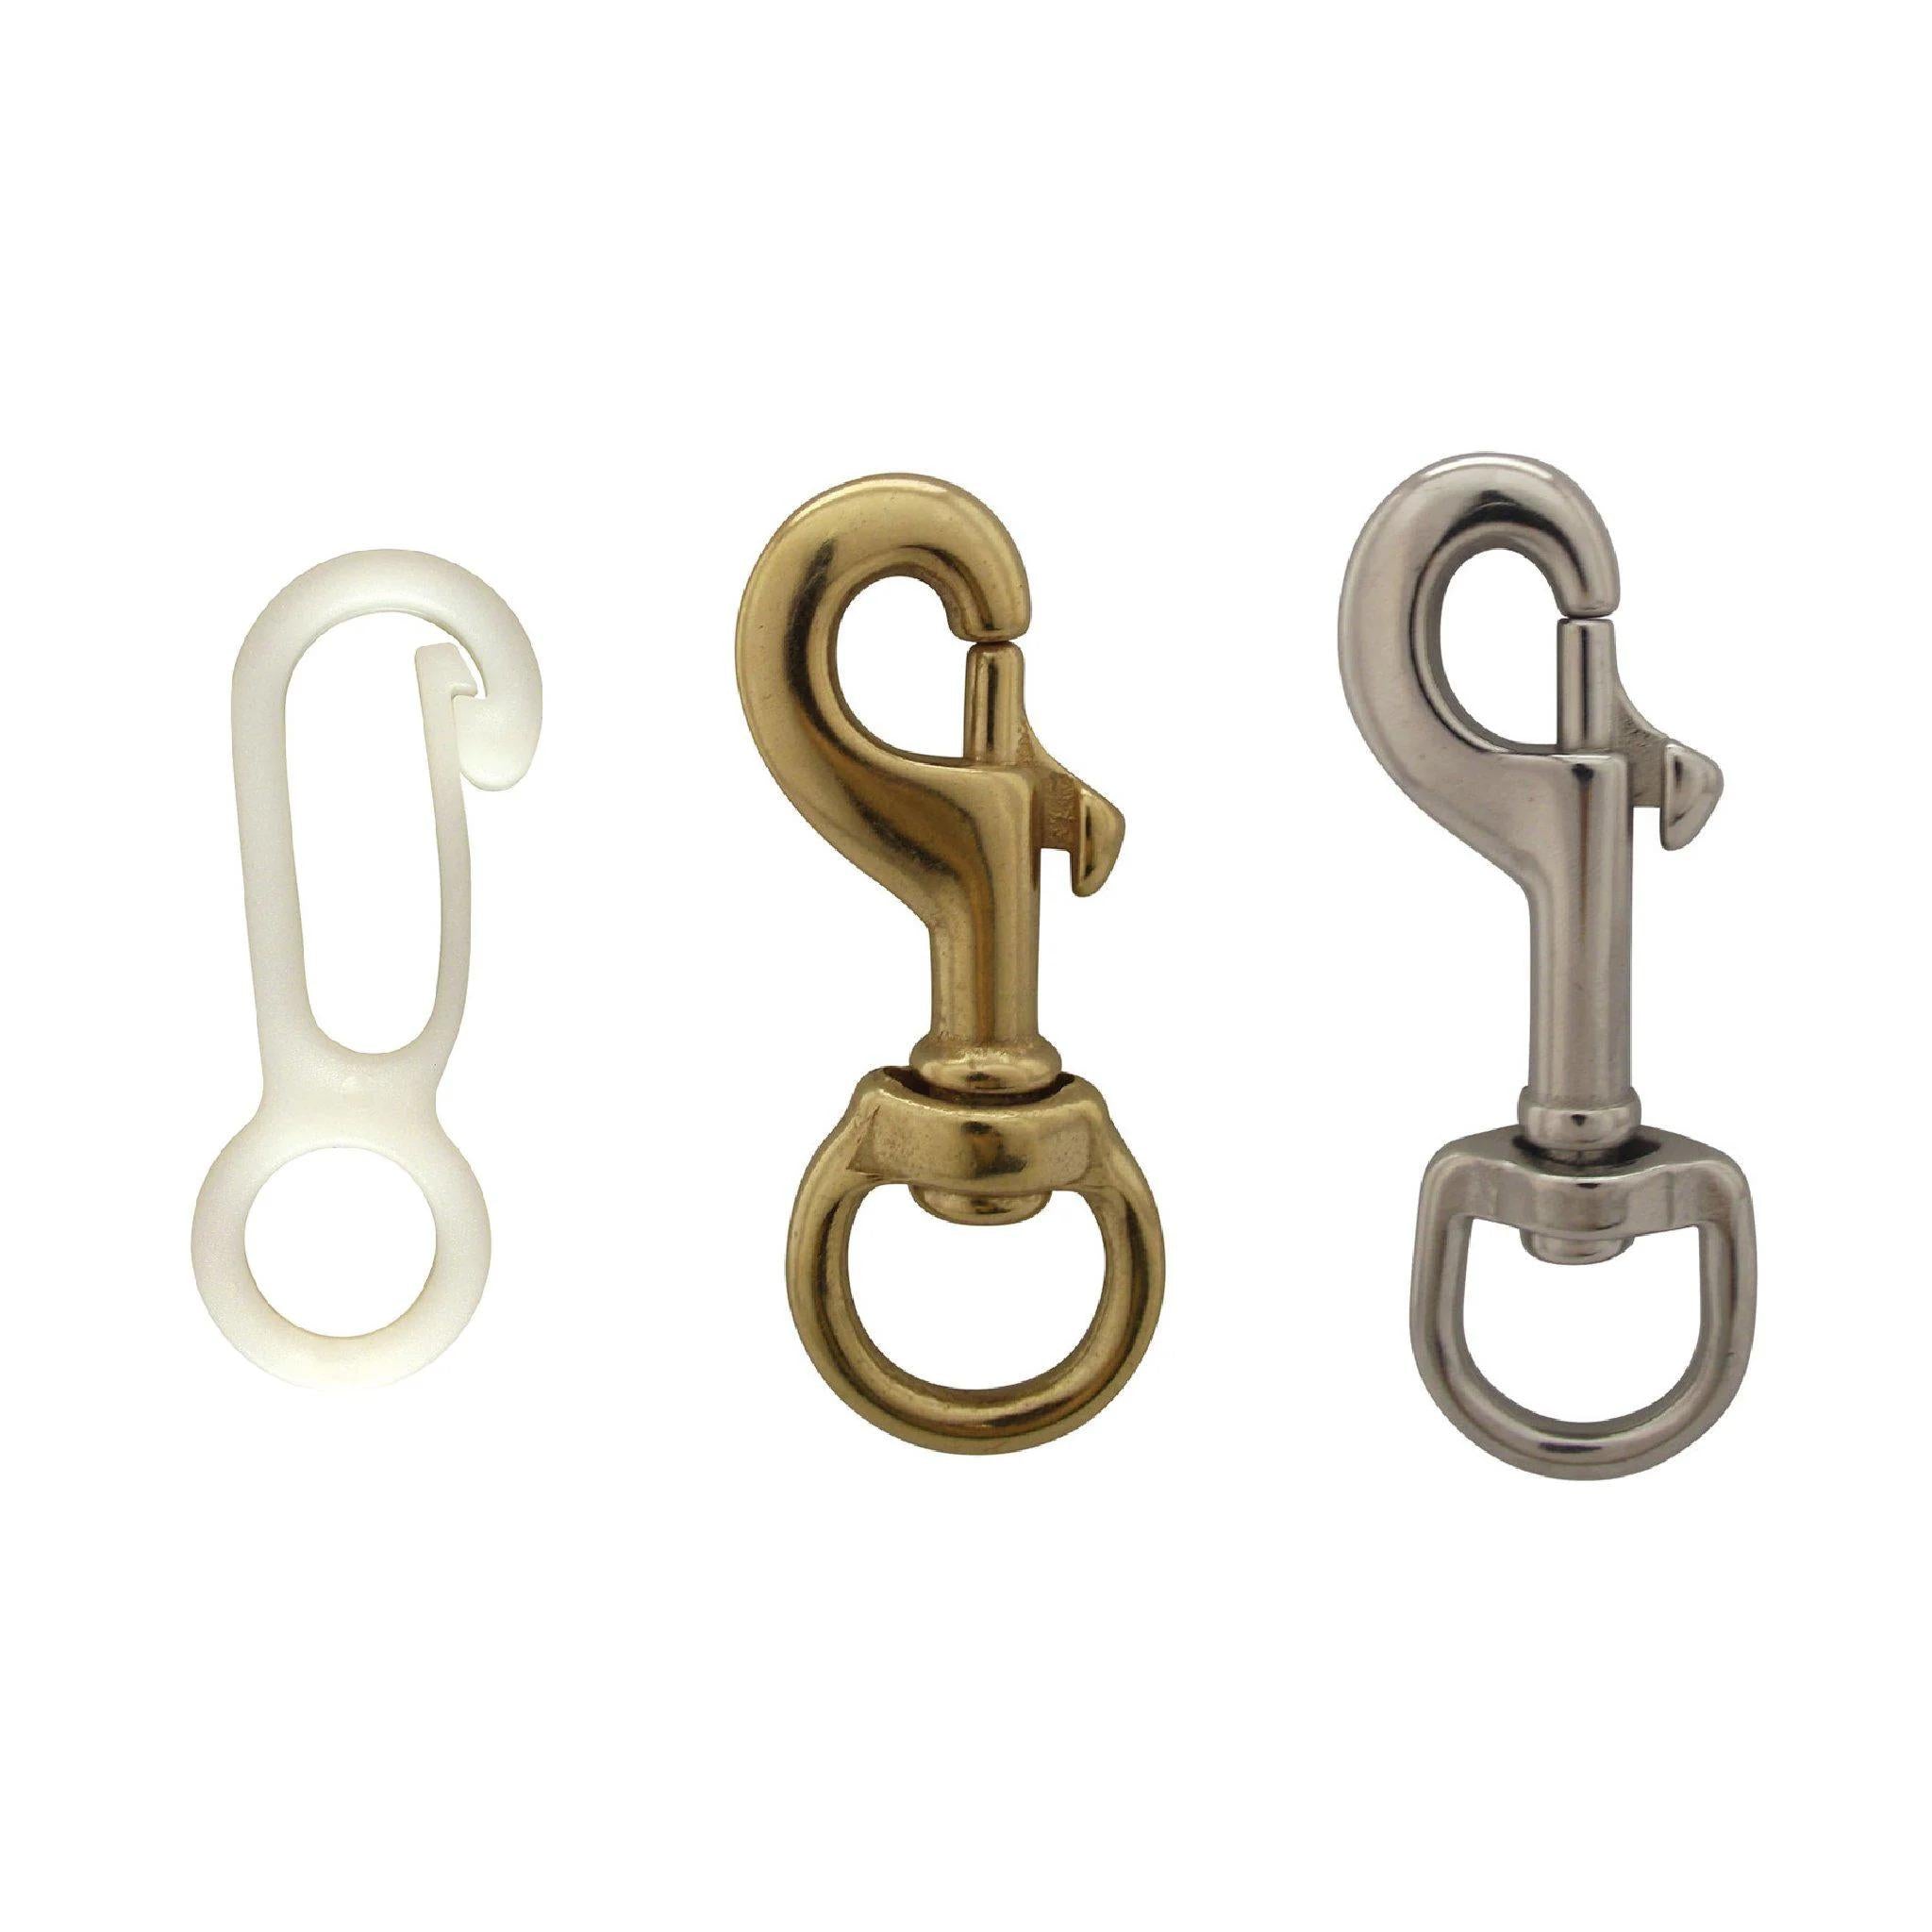
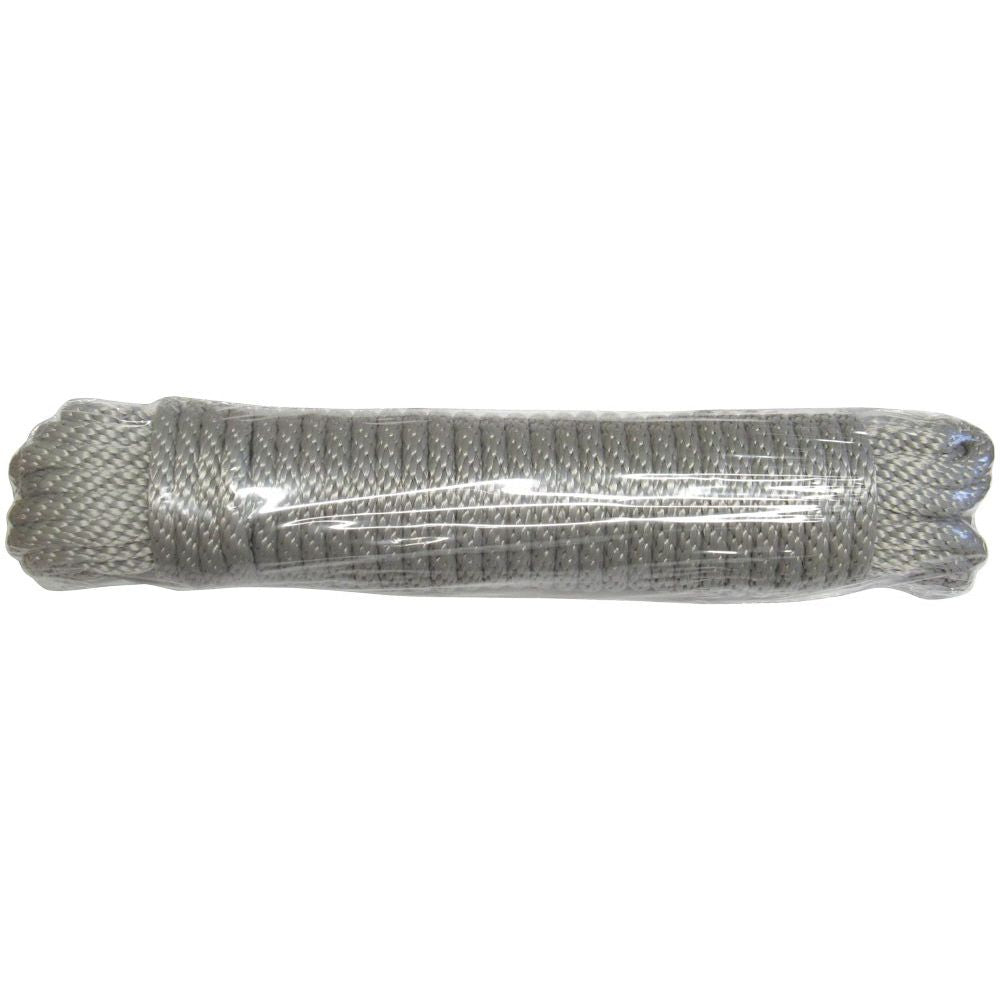
- Install the rope through the pulley. Tie the two ends together in your preferred knot of choice. Our preferred method is the Double Fisherman's Knot since it is self-tightening under tension. [insert knot tying video link here] Wrap the rope around the cleat.
- Slide the aluminum flash collar up to the cleat from the bottom of the pole. Then, slide the included rubber collar up the flash collar from the bottom of the pole.
- Pro Tip: double check everything! It's less fun to take the pole down if you forgot something. And your neighbors will make fun of you. You can take my word on that too!
3. Raise Your Flag Pole & Flag(s)
Tools Required: none.
- This works best with a partner. Align the bottom of the flagpole with the opening of the ground sleeve. Have your partner keep downward pressure on the bottom of the flag pole while you raise the pole as you walk closer to your partner. It is fairly light but you will lose leverage as you get closer, so it's important for both you and your partner to keep a good grip on the flag pole. Your flag pole will slide down into the ground sleeve. Slide the rubber collar and aluminum flash collar down to ground level.
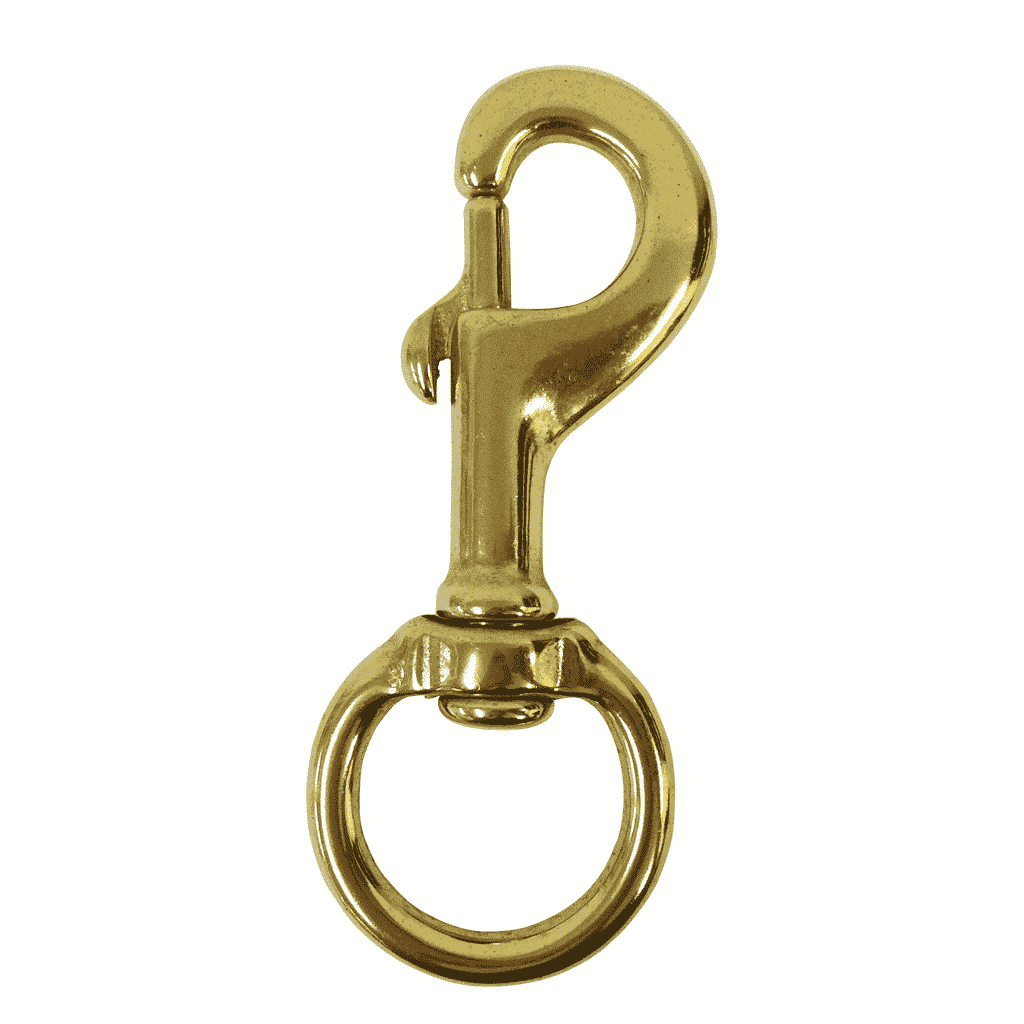
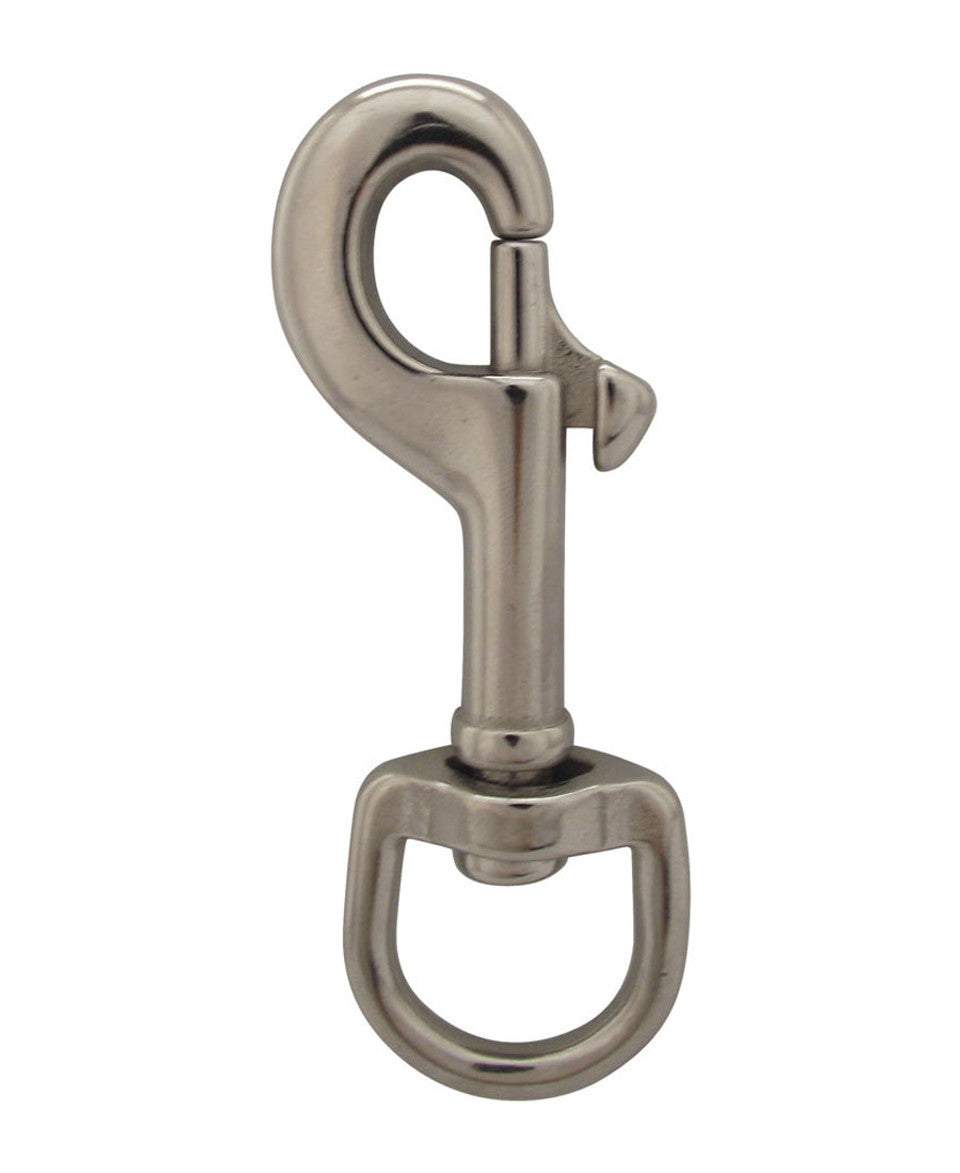
- Attach the provided flag snaps to the rope and install your 4' x 6' USA-Made American Flag by Freedom Flag and Pole. Pro Tip: Put the knot at the top of the flagpole, on the inside track, so when your flag is raised on the outside track, the knot is at the bottom and gets wrapped around the cleat.
- Extra points if you play patriotic music while raising your American flag. Extra-extra points if you add some fireworks to the mix.
There you have it. A forever flag pole! Single piece tapered aluminum flag poles are utilized commercially, and now you have one at your own home! The 20' Defender Flag Pole boasts American manufacturing with a lifetime warranty on the flag pole shaft. Thank you for flying our country's flag. Thank you for being a Defender of Freedom!
Keep looking up.
Prev post

How To Install Our Most Popular Flag Pole - 25' Guardian
Updated on 08 July 2026